

How To Set Fingerprint In Hp Laptop Windows 10
Z7_3054ICK0KGTE30AQO5O3KA30N0
hp-concentra-wrapper-portlet
![]() Actions
Actions
HP PCs - Set Up Sign-in Options for Windows Hello (Windows 10)
This document is for HP computers with Windows 10.
Windows Hello is a personal way to add extra security to sign in to your computer with just a look or a touch. Follow this document to set up a sign-in option using Windows Hello.
If you have not yet set up a sign-in option, you must first add a password before you can use other sign-in options. To create a password, go to Setting up a password in this document.
note:Windows Hello options vary by computer. To use fingerprint, face, or iris authentication, the computer must support a fingerprint reader or infrared (IR) webcam.
Setting up a password
Create or change your account password.
-
In Windows, search for and open Sign-in options.
-
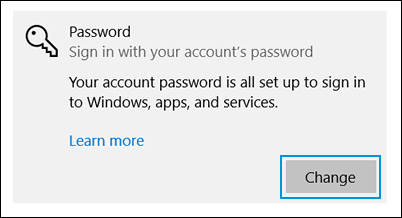
On the Accounts window, select Password, and then click Change. If a window displays prompting you to verify your identity, type the requested credentials.
note:
To set up a password for the first time, click Create, and then follow the on-screen directions.
-
Type your current password and a new password in the appropriate fields, and then click Next.
-
Current password field
-
New password field

-
-
Click Finish.
The password set up is complete. You can use your new password to unlock your computer.
Setting up a fingerprint reader
Set up a fingerprint reader to sign in to your computer.
note:This feature is only available on HP notebooks with a fingerprint reader.
-
Locate the fingerprint reader on your computer. Most HP notebook computers have this sensor on the right side of the computer.

-
In Windows, search for and open Sign-in options.
-
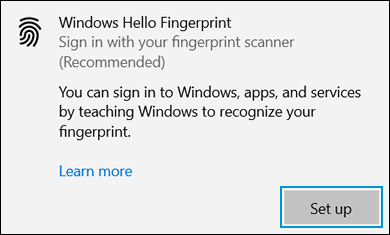
On the Accounts window, select Windows Hello Fingerprint, and then click Set up.
-
On the Windows Hello welcome screen, click Get started. If a window displays prompting you to verify your identity, type the requested credentials.
-
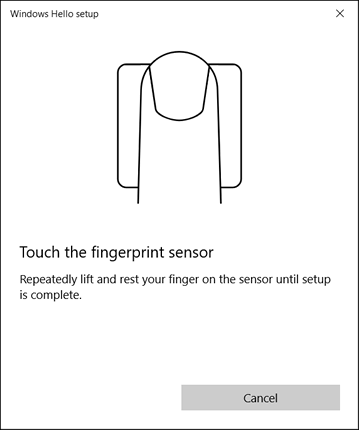
Make sure your fingers are clean and dry. When prompted, press and lift only one finger on the fingerprint sensor.
-
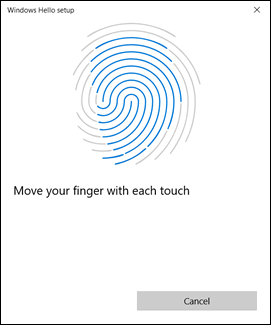
Follow the on-screen prompts to repeatedly press and lift your finger on the sensor. This helps the sensor to register your fingerprint completely.
note:
For better results, use different angles of your finger to capture the edges of your finger when pressing on the sensor.
-
If you have not already set up a personal identification number (PIN), click Set up PIN when prompted. The PIN is your backup if fingerprint recognition is not available.
-
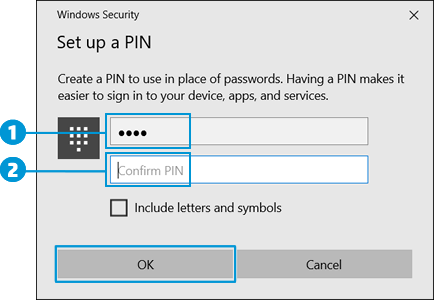
On the Windows Security window, type a PIN, type the PIN again to confirm, and then click OK.
note:
To use letters and symbols in your PIN, click the check box below the PIN confirmation field.
-
PIN field
-
Confirm the PIN field
-
-
Click Close to exit the Windows Hello setup window.
The fingerprint reader is activated, and you can use your fingerprint to sign in to your device.
Removing the fingerprint sign-in option
Remove this option in the Fingerprint section of Windows Hello.
-
In Windows, search for and open Sign-in options.
-
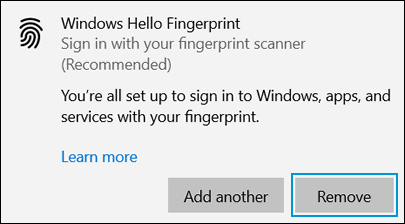
On the Accounts window, select Windows Hello Fingerprint, and then click Remove.
Setting up face recognition
Set up facial recognition to sign in to your computer.
note:This feature is only available for HP computers with an infrared (IR) camera. If you do not see the Face Recognition option in Windows Hello, your computer does not have an IR camera.
-
In Windows, search for and open Sign-in options.
-
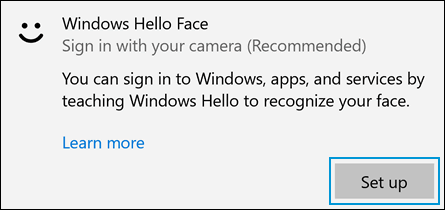
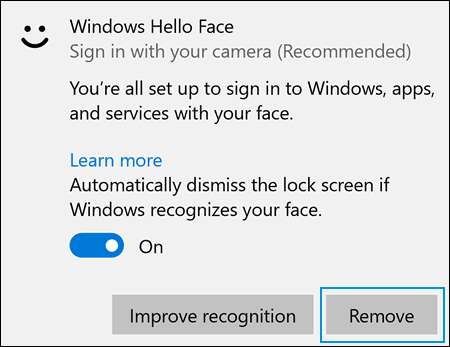
On the Accounts window, select Windows Hello Face, and then click Set up.
-
On the Windows Hello welcome screen, click Get started. If a window displays prompting you to verify your identity, type the requested credentials.
-
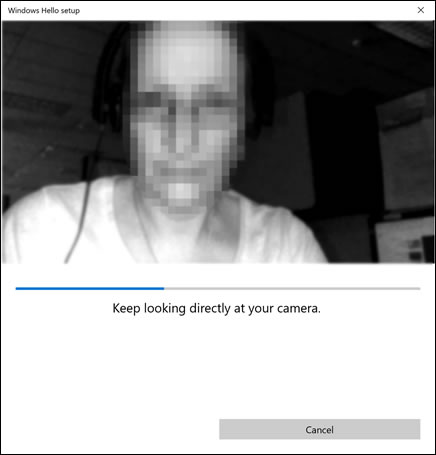
Look directly at the camera.
note:
Make sure no one else is in front of the camera. Facial recognition fails if more than one face is detected.
-
If you wore glasses while setting up Windows Hello face recognition, select Improve recognition to go through the setup again without them. This helps the software recognize you with or without your glasses.

-
Click Close to complete the process.
Facial recognition is set up, and you can sign in by looking directly at your computer screen.
Removing the facial recognition sign-in option
Remove the facial recognition sign-in option.
-
In Windows, search for and open Sign-in options.
-
On the Accounts window, select Windows Hello Face, and then click Remove.
Solving problems with facial recognition
After setting up facial recognition, Windows Hello Face Recognition does not work, the infrared (IR) camera does not turn on, the feature hangs, or one of the following error messages display:
-
Sorry, something went wrong. Couldn't turn on the camera. Make sure it's working properly.
-
Sorry, something went wrong. Please sign in with your PIN.
Setting up a PIN
Create or change your personal identification number (PIN) to sign in to your computer.
-
In Windows, search for and open Sign-in options.
-
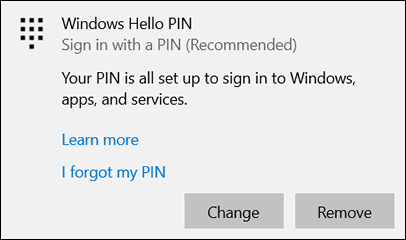
On the Accounts window, select Windows Hello PIN, click Add, and then click Next. If a window displays prompting you to verify your identity, type the requested credentials.

-
On the Windows Security window, type a PIN, type the PIN again to confirm, and then click OK.
note:
To use letters and symbols in your PIN, click the check box below the PIN confirmation field.
-
PIN field
-
Confirm the PIN field
-
Your account PIN is set up. You can use your PIN to unlock your computer.
Changing or removing a PIN
Change or remove your personal identification number (PIN).
-
In Windows, search for and open Sign-in options.
-
On the Accounts window, select Windows Hello PIN, click Change or Remove, and then follow the on-screen instructions. If a window displays prompting you to verify your identity, type the requested credentials.
Setting up a picture password
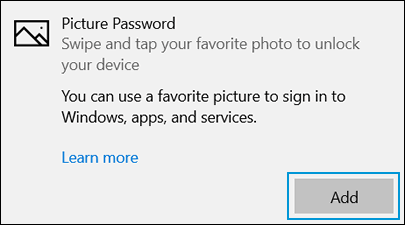
Set up a picture password with gestures to sign in to your computer.
note:Picture Password is available on all computers with Windows Hello, including non-touchscreen computers.
-
In Windows, search for and open Sign-in options.
-
On the Accounts window, select Picture Password, and then click Add. If a window displays prompting you to verify your identity, type the requested credentials.
-
Click Choose picture.

-
Browse to the picture you want to use, select it, and then drag it to the desired position on the screen.
-
Select Use this picture or Choose new picture.

-
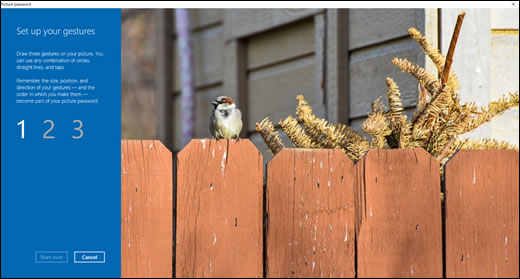
When prompted, draw three gestures on the picture. Use any combination of circles, straight lines, and taps. To start the process over at any time, click Start over.
note:
Remember the size, position, and direction of the gestures and the order you made them in.
-
Click Finish.
Picture Password set up is complete. You can use the picture password to sign in to your computer.
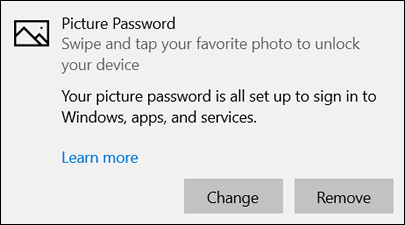
Changing or removing a picture password
Change or remove your picture password.
-
In Windows, search for and open Sign-in options.
-
On the Accounts window, select Picture Password, click Change or Remove, and then follow the on-screen instructions. If a window displays prompting you to verify your identity, type the requested credentials.
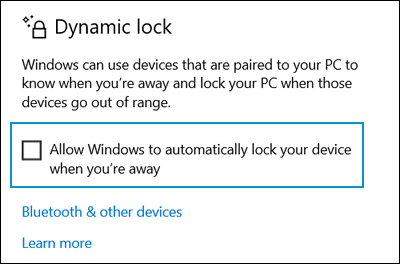
Setting up Dynamic lock
Dynamic Lock is a Windows Hello security feature that allows Windows to automatically lock your computer based on the proximity of a Bluetooth device paired with your computer.
note:This feature requires that you have a Bluetooth device paired with your computer.
-
In Windows, search for and open Sign-in options.
-
On the Accounts window, scroll down to Dynamic lock, and then select Allow Windows to automatically lock your device when you're away.
With Dynamic lock activated, your computer automatically locks a minute or so after your device is out of Bluetooth range. Note that Bluetooth range varies by device.
note:
When you come back within Bluetooth range, you must enter your password to unlock your computer.
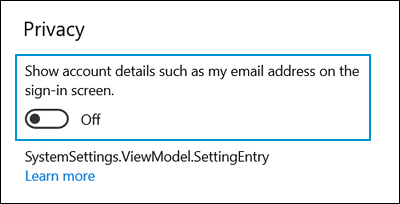
Setting up privacy options
Allow account details such as your email address to display on the sign-in screen.
-
In Windows, search for and open Sign-in options.
-
On the Accounts window, scroll down to Privacy, and then turn on Show account details such as my email address on the sign-in screen.
How To Set Fingerprint In Hp Laptop Windows 10
Source: https://support.hp.com/id-en/document/c06243676
Posted by: josephmadve1941.blogspot.com
0 Response to "How To Set Fingerprint In Hp Laptop Windows 10"
Post a Comment